

Hello! I have been learning programming since late January of 2022 and recently started learning Web3 too. I am not sure if this is the right thing to do right now but I will give it a try. I am hoping to keep learning the basics of programming languages and in the meantime I'll try to gain as much knowledge as I can about Web3. That's why I started Alchemy's "Road to Web3" programme and now I'm in the second week.
I am not going to write how you can build this dApp, because those guys already did a great job to help you understand that. You can watch their videos or go to this documentation to learn it. If you watch Mr. Albert and do whatever he does, you can create the dApp without a tiny hesitation. I wanted to not copy the code but to learn them, so I needed to read a lot because I don't have any experience in Solidity language. In this article, you will find what I didn't know before this lesson and what I learned during this time. Let's dive into it.
Creating Contract
First part of the lesson is creating the contract with Solidity. The first thing I encounter is the word event. What is an event and how will it work? I went to the Solidity documentation to understand that which I can't say I understand perfectly. But I understand that we simply create or declare an event and then we call that event inside a function using emit. I hope I get it right but what the hell is emit? It turns out it tells the user/client/anyone that the event has happened.
The other thing I learned is that Solidity is a typed language like C. We have to declare what type of variable we are using in Solidity. In this week's contract we have address and address payable. They are mostly the same except if an address is payable, it has additional members called send and transfer. When I first saw address.send(...), I thought the address was sending money from itself but it turned out the address in this function is receiving the money. Extremely important thing for me to learn!
I also learned that there are block and transaction properties while building this application. msg.sender is the address of the one who makes the current call. msg.value is the number of wei sent with the message.
Another thing I noticed during this lesson was a different type of commenting which I have never seen before. It was used like this: /**...*/. I learned that it is called NatSpec Format and the developers can use multiple tags with this commenting type while writing his/her/their code.
One last thing I want to add is the return function in the last part of the Solidity code which is something like this:
function getMemos() public view returns(Memo[] memory) {
        return memos;
    }
I don't know why but I felt like it doesn't make sense to write the returns keyword as a function modifier because we are already going to write it inside the function. When I checked the documentation about return variables it turns out we have to use returns keyword and specify the type of the variable which will be returned. I still can't get why we need to do that but it is what it is. Now let's move on to creating JS files.
Creating JS files
I thought that when I wrote the code with Solidity everything would be over but I was completely wrong! Unfortunately creating the Solidity file was just the beginning. We are going to create too many JS files right now and it will be complicated.
First thing to do is creating the "buy-coffee" script. At the top of the file I saw this:
const hre = require("hardhat"); What a start? Something new! So, I learned that the "hre" is Hardhat Runtime Environment. You can find a little bit of detailed information in here. Right after that I saw other new stuff like "hre.waffle.provider" and "hre.ethers.utils" and learned that they were going to be used for getting balances of addresses in this JS file.
Then we have the main function of the file. In the main function we needed to get the tipper accounts first and the code was something like this:
const [owner, tipper, tipper2] = await hre.ethers.getSigners(); hre.ethers.getSigners() is basically giving us the ethereum accounts.
After that the most important part. I need to get the contract and then deploy it. I learned that I need to use something called contract factory. hre.ethers.getContractFactory() is going to help me to deploy my Solidity file. You can check ethers documentation about contract factory.
const BuyMeADrink = await hre.ethers.getContractFactory("BuyMeADrink");
const buyMeADrink = await BuyMeADrink.deploy();
await buyMeADrink.deployed();
console.log("Buymeadrink is deployed to", buyMeADrink.address);
In the first line I save my Solidity contract in a variable using getContractFactory. That variable is "BuyMeADrink" with capital "B". Then in the second line I use that variable to deploy and save it in a variable "buyMeADrink" with lowercase "b". The variable with the lowercase letter is the contract which is deployed and in the 4th line you can see that its address can be shown with console.log. That part was the deploying part of the contract and it was a little bit tricky.
The other important part is calling the functions which are written in the Solidity file. For example, what needs to be done for someone to buy me a drink? First, that person has to connect the wallet and then send me some ether. The code should be something like this: "myContract.connect(walletAdress).functionToCall()" --> What is it mean? It means that my contract is going to connect to the wallet that will buy me a drink, and then going to call the function. Here it is:
const tip = {value: hre.ethers.utils.parseEther("1")};
await buyMeADrink.connect(tipper).buydrink("Osman", "Enjoy", tip);
In this code buyMeADrink is the contract and buydrink is the function which is being called in the Solidity file. And lastly I needed to write withdraw tips and print memos in this JS file which were not different then the previous parts of the file.
This was the first JS file and I deployed the contract in my local environment using hardhat. Now it's time to deploy it to a testnet. During this tutorial we used the Goerli network and the second JS file was deploy.js. It was not different from the other file but during deploying it to real testnet I learned what .env is and what to write in the hardhat.config.js file.
The most important thing that I learned while creating JS files was understanding how to connect Solidity and JS.
Creating the Website using Replit
Now it's time to build our website and finish this dApp. To create the frontend of my website I used Replit. Albert Hu already created a Next.js project and wrote all of the code. I and the other students only needed to change small things. Even though it's already there I wanted to understand and read all of the code line by line. It might be very simple stuff for most of the people but this was going to be my first time with Next.js or any other JS framework.
Since this is a web3 application, one of the most important things is to understand how a wallet is connected to a website and if the user already installed the metamask or not. Because of that it is also important to learn what is window.ethereum. You can check this link. The "isWalletConnected" and "connectWallet" functions that Albert wrote are very helpful to understand this.
The other function is the main function which is going to buy the drink.
  const buydrink = async () => {
    try {
      const {ethereum} = window;

      if (ethereum) {
        const provider = new ethers.providers.Web3Provider(ethereum, "any");
        const signer = provider.getSigner();
        const buyMeADrink = new ethers.Contract(
          contractAddress,
          contractABI,
          signer
        );

        console.log("buying ...")
        const drinkTxn = await buyMeADrink.buydrink(
          name ? name : "anon",
          message ? message : "Enjoy your gift!",
          {value: ethers.utils.parseEther("0.001")}
        );

        await drinkTxn.wait();

        console.log("mined ", drinkTxn.hash);

        console.log("Drink purchased!");
With this function we can get the signer wallet address and contract address and we can reach our contract's buydrink function. Then we wait for the transaction to complete and it's done. We have got our drink.
And the last thing about this part: I was surprised when I saw there was not a separate html file. The html section of the page was written inside return () and that was rendering the page.
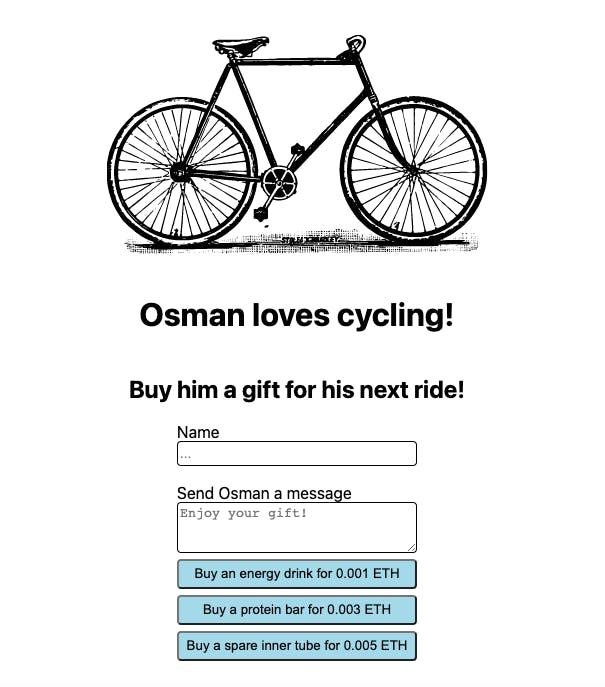
That was my story of the second week of the Road to Web3 and the screenshot above was my dApp's webpage. I hope you enjoy this article and see you in the next one.